How To Adjust Depth Of Field
The depth of field of an image is the area between the closest and furthest portions of a picture that is "in focus." The best way to change the depth of field of an image is behind the camera - not the computer. However, if you need to adjust the focus areas of your image, check out the guide below to learn how to increase and how to decrease the depth of field of your images.
1. Install PaintShop Pro
To install PaintShop Pro photo editing software on your PC, download and run the installation file above. Continue following on-screen instructions to complete the setup process.
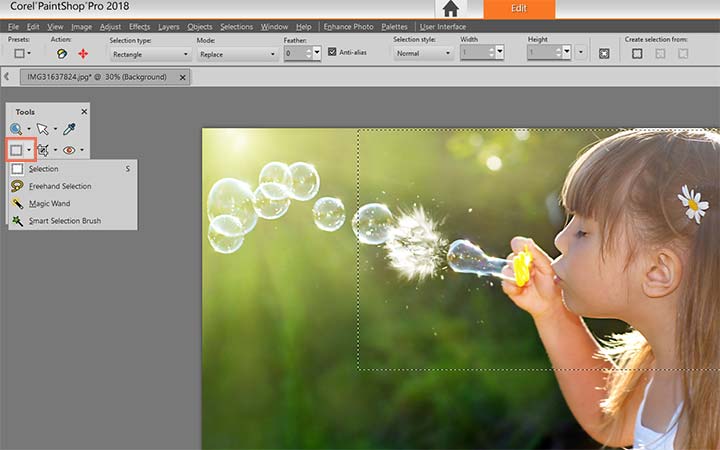
2. Select the area of focus
From the Edit tab, select the area that you want to keep in focus. For information about selecting image areas, see Creating selections.
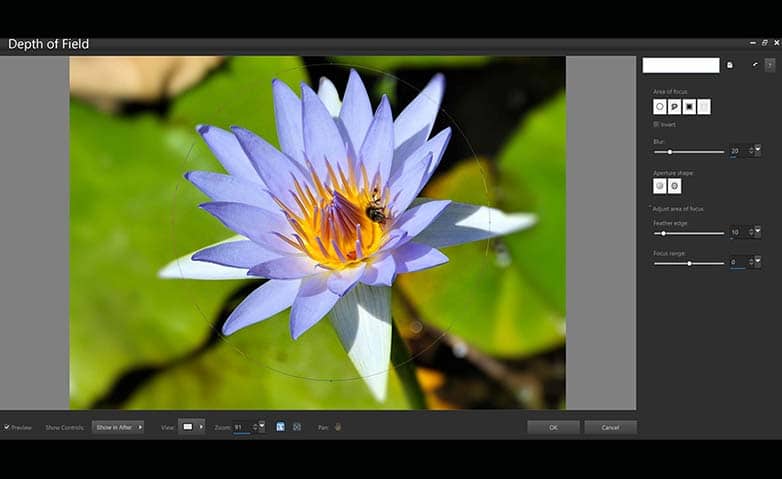
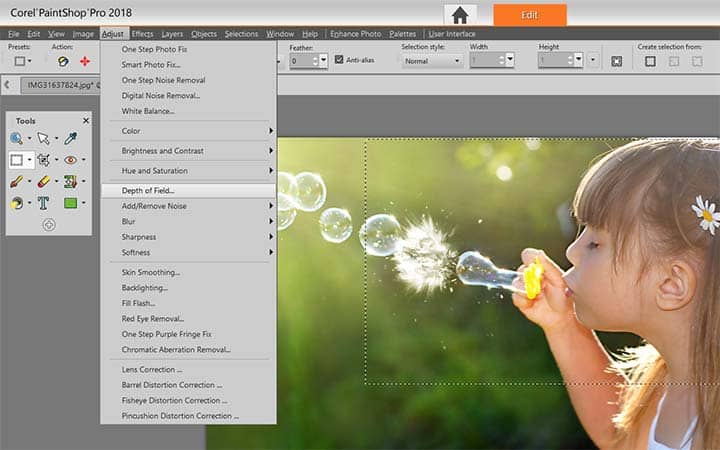
3. Adjust depth of field
Click Adjust > Depth of Field. The Depth of Field dialog box appears.
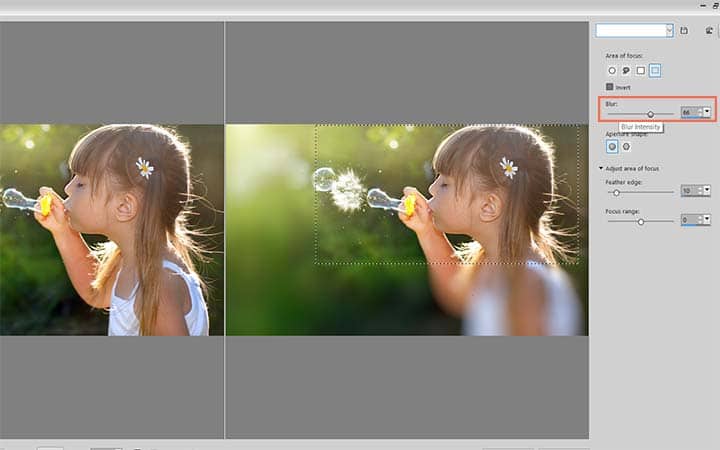
4. Adjust the amount of blur
Move the Blur slider to adjust the amount of blur applied to the out-of-focus area.
Download a free trial now and start editing depth of field today
PaintShop Pro's image editing tools allow you to quickly and easily edit depth of field to bring focus to a specific part of your image.
PaintShop Pro does more than just adjust depth of field
Check out some of the other photo editing features in Paintshop Pro, like add fun photo effects, add cool photo effects, add motion blur effect, and more! Create high quality photos in a fun and easy to use photo editor and make your photos stand out more than ever.
 Add Fun Photo Effects
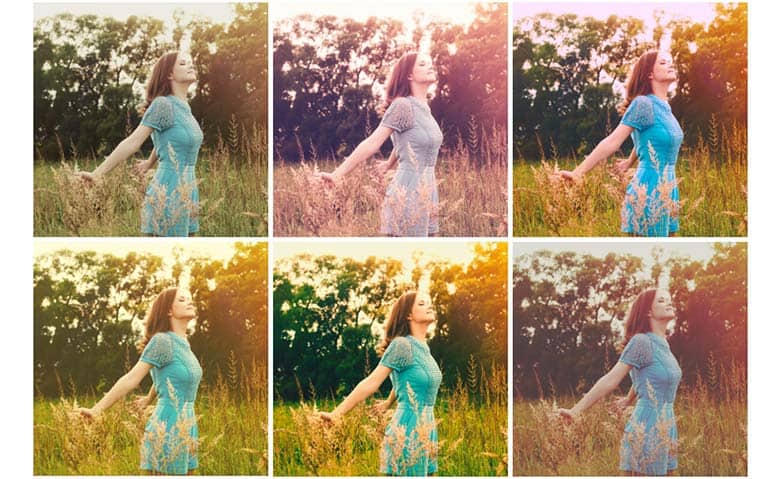 Make Vintage Photos
 Add Sepia Effect
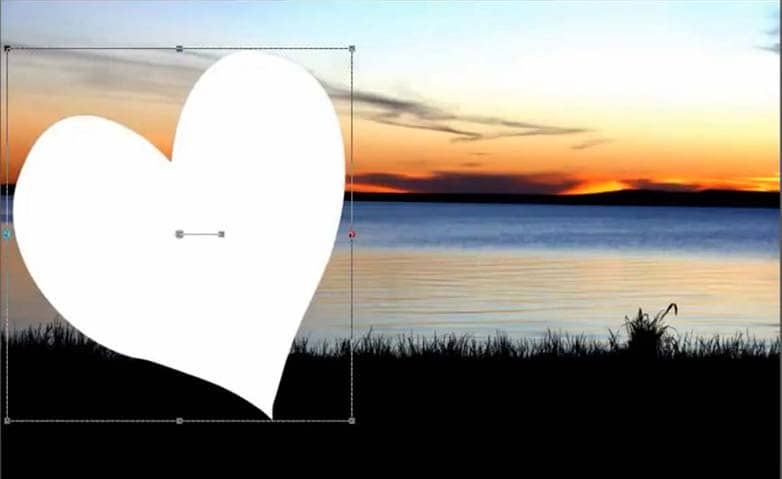 Use Photo Masks
Download the best solution for adjusting depth of field that there is
Looking to bring focus to a part of your image? Try adjusting your depth of field. We promise you’ll love the easy-to-use depth of field features in PaintShop Pro. Click below to download your free 30-day trial and change you photos depth of field for free before you buy!