How To Use Layers
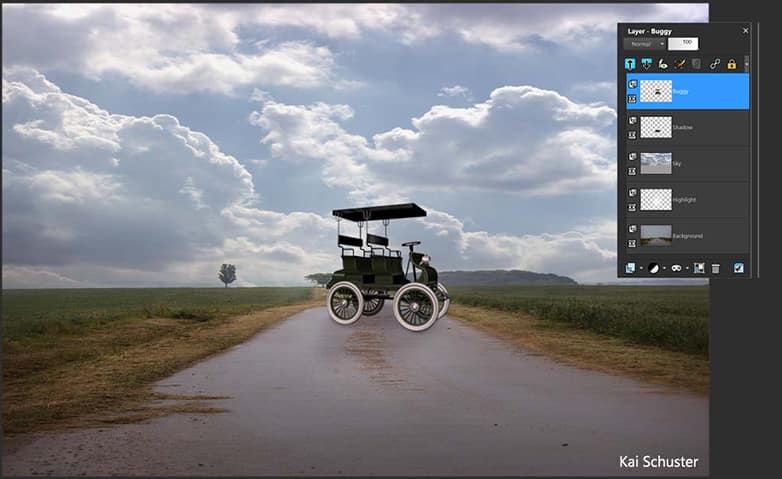
PaintShop Pro layers contain the objects, images, and text that comprise a layered file. This structure allows you to edit, manipulate, or create content on a single layer without changing the rest. These layers give you full control over the different elements in your composition. Sound intense? Don't worry, keep reading to learn how to use layers in Paintshop Pro to master your creative compositions.
To add an adjustment layer
1. Install PaintShop Pro
To install PaintShop Pro photo editing software on your PC, download and run the installation file above. Continue following on-screen instructions to complete the setup process.
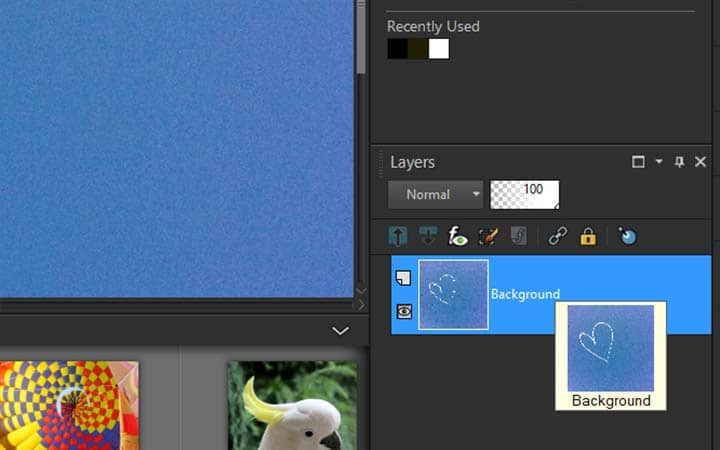
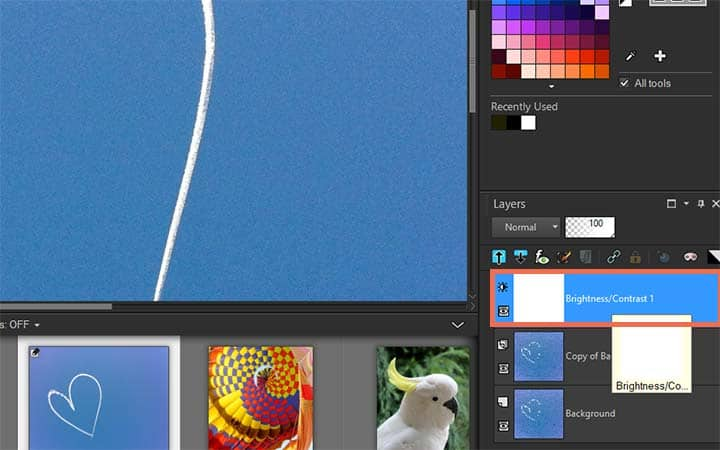
2. Add layer
On the Layers palette, click a layer. When the adjustment layer is added, it will appear above the selected layer.
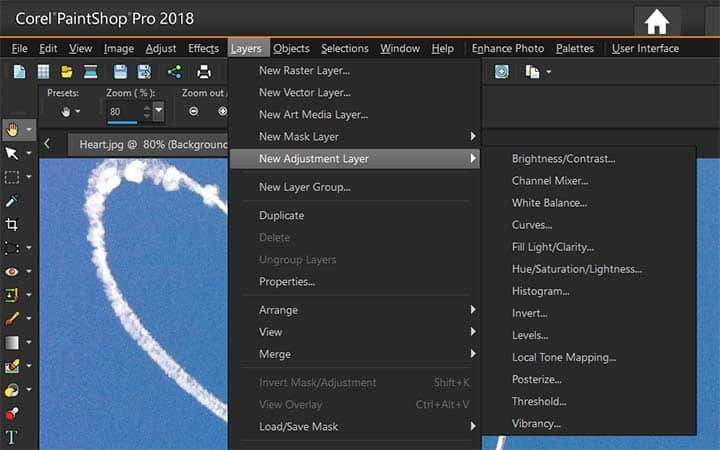
3. Choose a layer type
From the drop-list on the palette toolbar, choose New Adjustment Layer, and select an adjustment layer type.
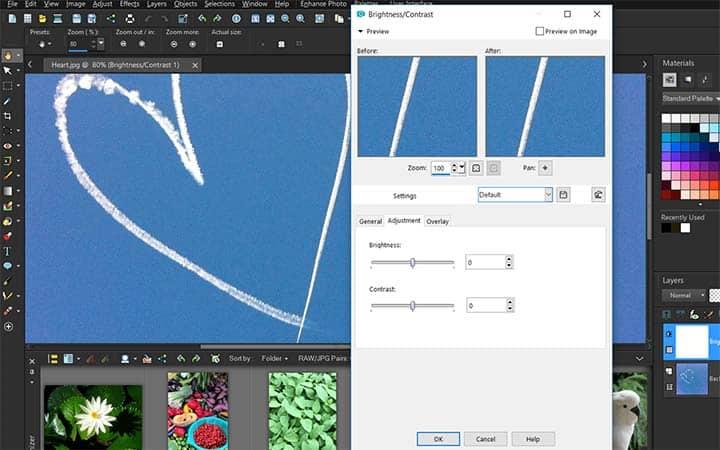
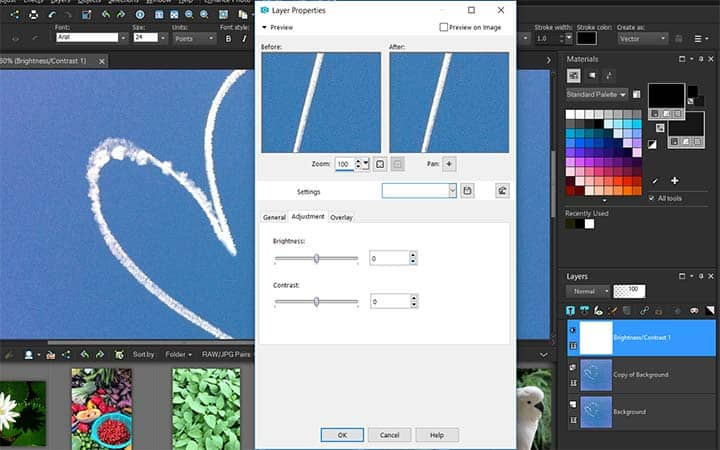
In the dialog box that appears, the preview areas show the image before and after you make changes.
To reset the values to default settings, choose Default from the LoadPreset drop list.
4. Adjust controls
Click the Adjustment tab, and set the controls for the adjustment layer.
Click OK.
You can also add an adjustment layer by choosing Layers > New Adjustment Layer.
You can also reset the values to the default by double-clicking the adjustment layer and clicking the Reset to Default button in the Properties dialog box.
To hide or view the adjustment layer overlay
2. Apply View Overlay
Choose Layers > View Overlay. You can also hide or display the adjustment layer overlay by clicking the Highlight mask area button on the Layers palette.

To edit an adjustment layer
2. Open Layer Properties
On the Layers palette, double-click the name of the adjustment layer that you want to edit. The Layer Properties dialog box appears.
3. Make color correction
Click the Adjustment tab, and modify the color or tonal correction settings.
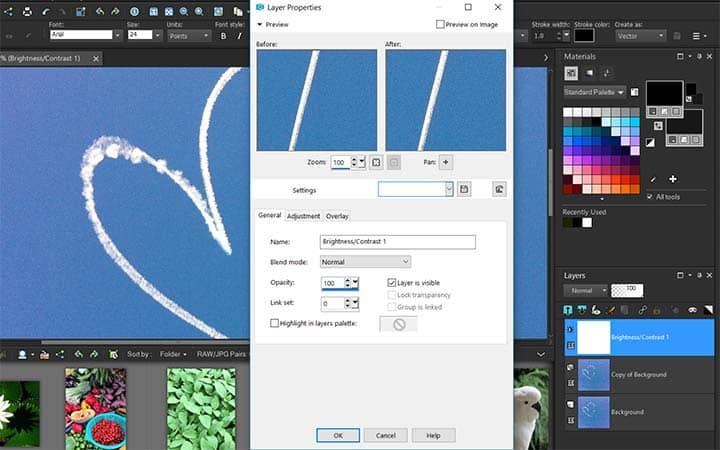
4. Modify layer properties
Click the General tab to modify the general layer properties such as layer name, blend mode, and opacity.
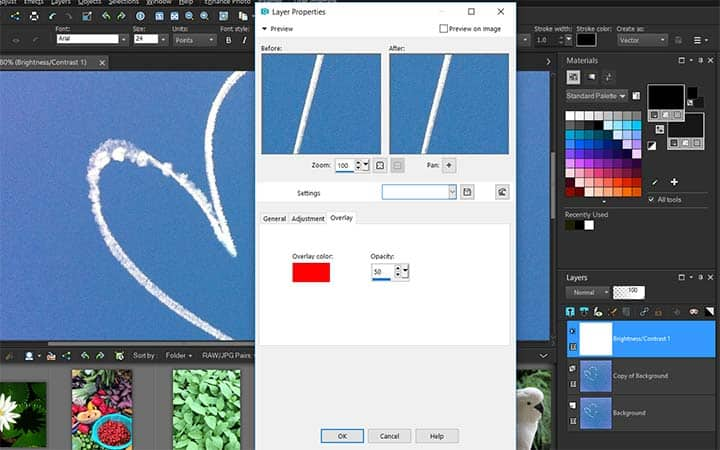
5. Adjust overlay
On the Overlay tab, adjust the color and opacity of the overlay. The default overlay is a reddish, mask-like layer with 50 percent opacity. Click OK.
Download a free trial now and start editing photo layers today
PaintShop Pro's image editing tools allow you to quickly and easily edit photo layers.
PaintShop Pro does more than just edit photo layers
Check out some of the other photo editing features in Paintshop Pro, like use double exposure, add text to photos, clone an image, and more! Create high quality photos in a fun and easy to use photo editor and make your photos stand out more than ever.
 Do Double Exposure
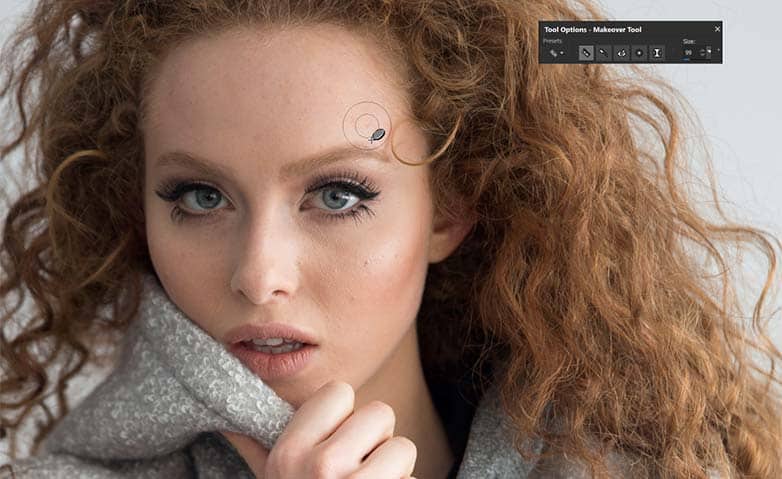 Remove Blemishes In Photos
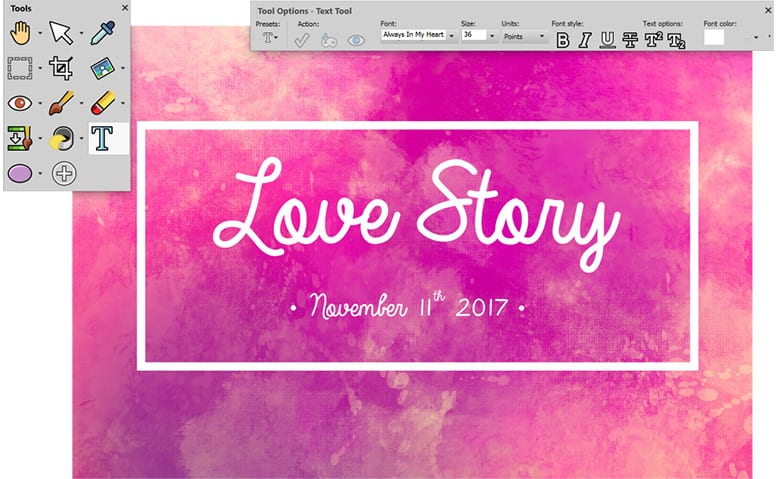 Add Text To Photos
 Use Photo Makeover Tools
Download the best solution for editing photo layers that there is
Look to work with some different photo layers? We promise you’ll love the easy-to-use photo layer editing features in PaintShop Pro. Click below to download your free 30-day trial and edit image layers for free before you buy!